Here is a compilation of photos, videos and narrative, describing our most recent large-scale installation. Special thanks to Matt Tasler for sharing his i45 video.
The ambitious undertaking to remodel and upgrade the historic 1911 Hotel Galvez (now the Grand Galvez Hotel and Spa) includes our recent installation, a 315-s.f. Italian smalti and marble mosaic entitled, “Queen of the Gulf.” The mosaic was commissioned by owners Mark and Lorenda Wyant of Dallas. Visitors and guests encounter the mosaic upon entering the lobby. Romeo De Candido and I, together with a band of tile setters, installed the mosaic over a period of ten days.
The center medallion of the Queen of the Gulf mosaic.
On-site installations are always a bit more challenging than we can imagine, so we prepare as best we can. International shipping delays, customs hurdles, and waterjet file challenges presented us with potential delays, but we finished on time. Everything seemed to come together magically during the last 24 hours - the mosaic, the wood floors in the lobby, the grand staircase and the tower urns. The Queen is ready for her closeup!
The full mosaic, looking towards the Peacock Alley bar.
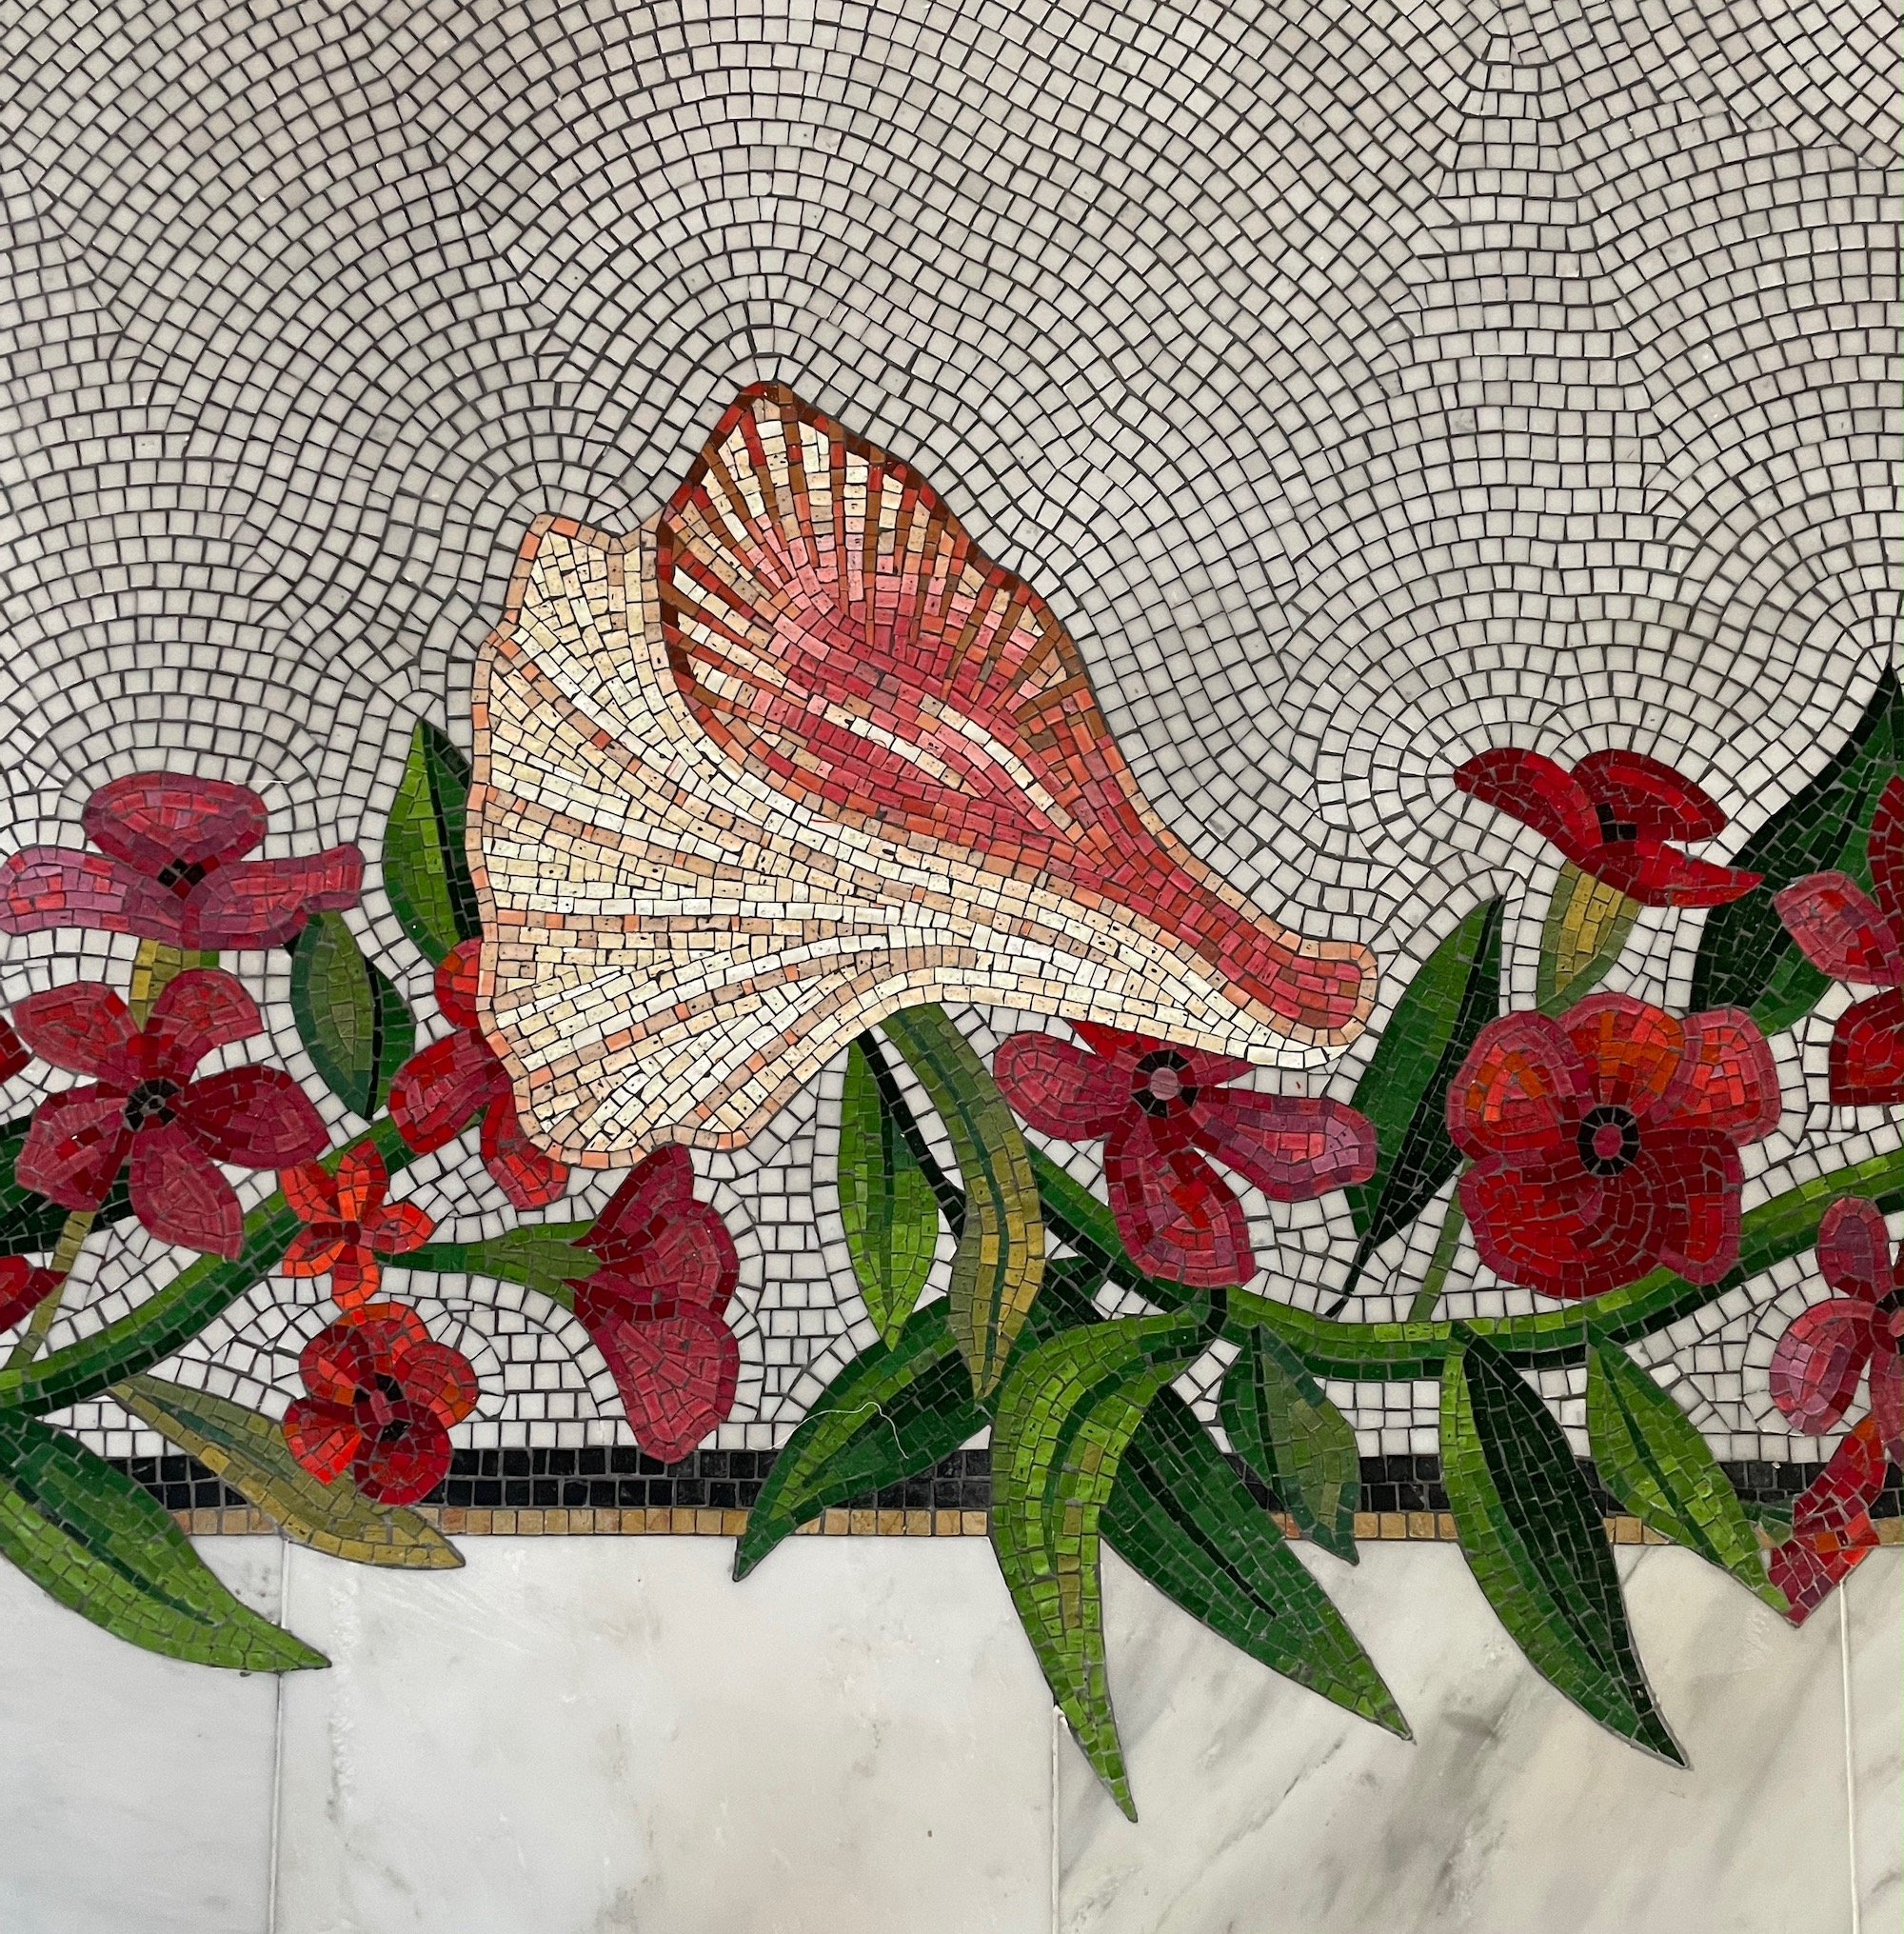
Smalti shells and marble andamento make this design unique.
Special care was taken to inset leaves and flowers into the 18 x 18 inch marble pavers.
I know a lot of process junkies like me are out there, scanning videos and learning a lot as they watch others perform their tasks. So here are a few treats for you: First, a time lapse of a day installing our paper-faced mosaic, using the “rovescio su carta” method:
If you look at the far right of the video, you’ll see the mosaic sections we installed that day, laid out end to end. The selected grout color is sprinkled over the back side and brushed into all the joints. Then Romeo mixes a thick paste of grout with a bit of thin set, and “butters” the back of the sections, forcing this grout, or “boiacca,” into the joints and across the back of each tessera. This holds the powder in place between the paper face and the white thin set we’re using. This way, thin set won’t push through to the surface, and we keep the joints gray, our intended color. As the rows are set in, sections are tamped forcefully with a grout float, and sponged to soften the paper adhesive. Once we’re sure the sections are in place, we remove the paper and add a bit of surface water. Romeo then urges the tesserae into the thin set with a trowel and a lot of muscle. This part is loud and messy! A final clean up then reveals the mosaic. This is also the time to make small adjustments and insert any missing tesserae.
While we awaited the preparation of the last section of floor, Romeo got a jump on grouting. In order to make the flowers and leaves look cohesive, I chose a dark gray grout. This reverse method doesn’t allow for “spot grouting” in more than one color, as the sections are pasted from the back first (see above description). Knowing that a light grout would eventually darken anyway with heavy foot traffic, I selected a pewter color.
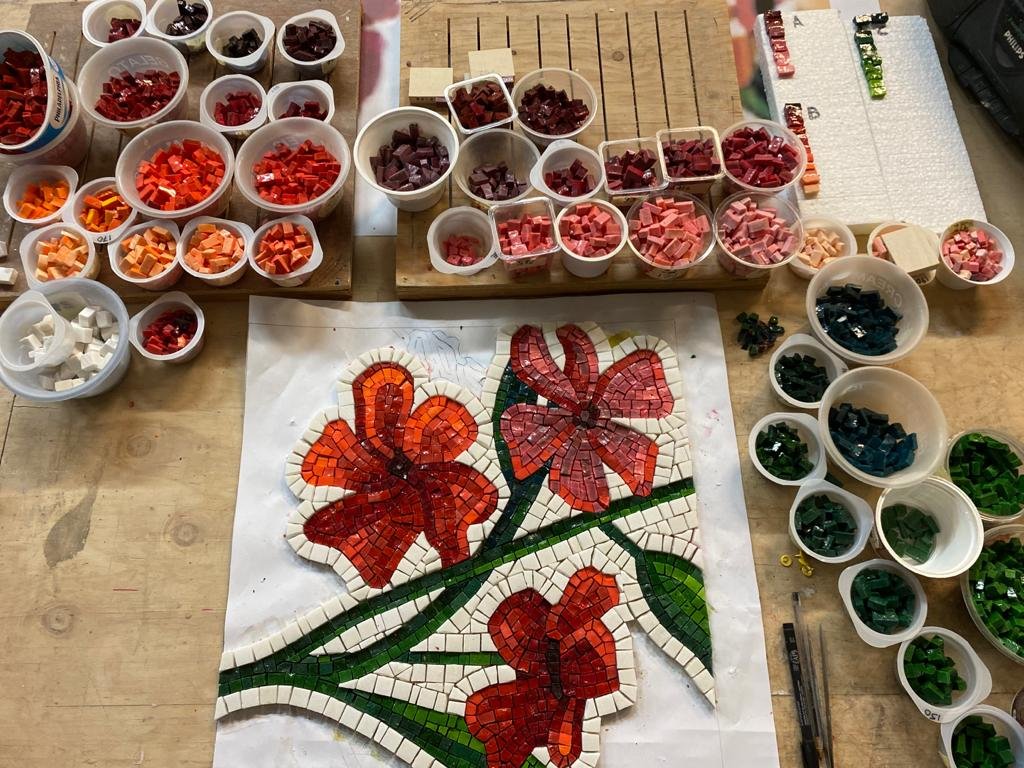
Oleander color test samples from our Italian mosaicist.
Now THAT’s a file! The 44’ 1” x 7’ project was much too large for my studio. LV Mosaics was commissioned to complete the project for us. Using our CAD file, they predetermined the andamento and sectioned the pattern into 219 individual parts.
“Piano di Posa” is the installation map. And yes, it’s also backwards!
Romeo and I are looking as tired and ragged-out as we felt in this photo after ten days on site. I’m also apparently suffering from a poisonous spider bite on my leg, which was not discovered until I got home. 10 days of antibiotics later…happy installers, happy clients!


