STUDIO STORIES Julie Richey 4/26/23 Julie Richey 4/26/23 Video Tour: North Fort Worth Animal Care and Control Project Completed April, 2023 Read More Julie Richey 6/13/22 Julie Richey 6/13/22 Queen of the Gulf Mosaic Graces Grand Galvez Hotel and Spa Lobby Read More Julie Richey 6/6/22 Julie Richey 6/6/22 "First In" is complete. Read More Julie Richey 6/5/21 Julie Richey 6/5/21 Raining Cats and Dogs Read More Julie Richey 10/21/20 Julie Richey 10/21/20 Mesquite Fire Station #4: In progress Read More Julie Richey 8/24/20 Julie Richey 8/24/20 Tales from A Construction Site: The Boot Stitch Installation. Read More Julie Richey 8/9/20 Julie Richey 8/9/20 On the work table now: Read More Julie Richey 8/9/20 Julie Richey 8/9/20 Pamplona Rose Project for the new Fort Worth AC Marriott Read More
Julie Richey 4/26/23 Julie Richey 4/26/23 Video Tour: North Fort Worth Animal Care and Control Project Completed April, 2023 Read More
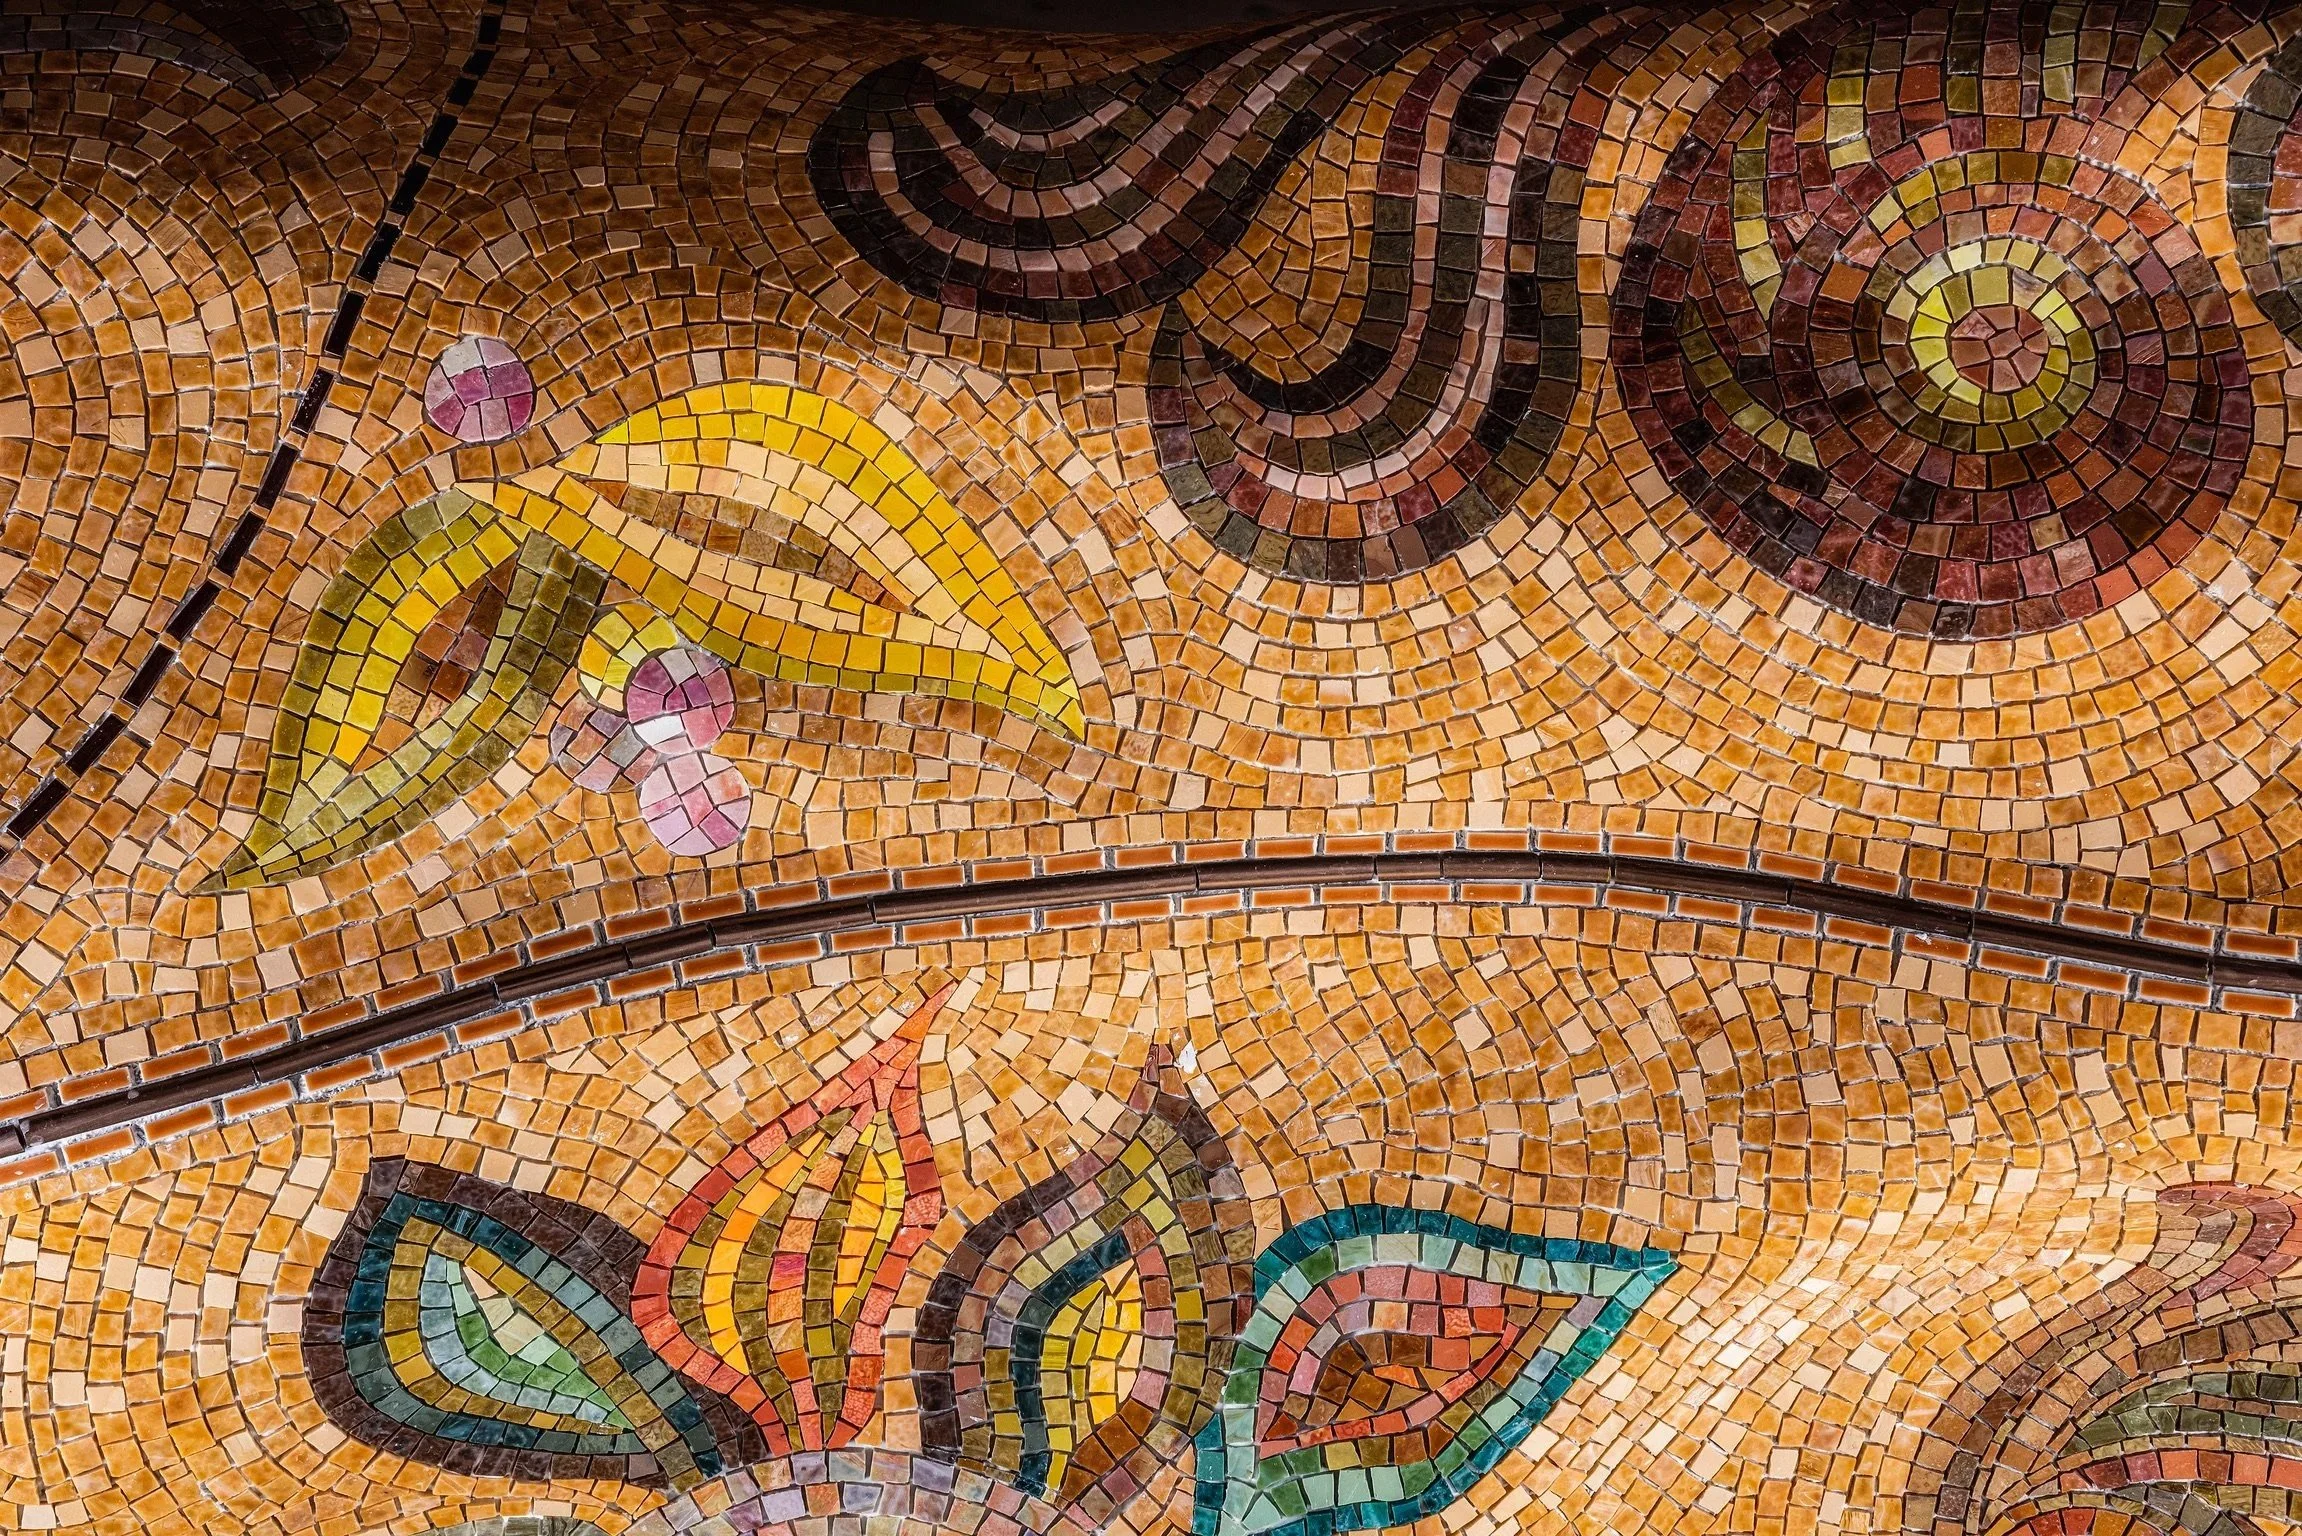
Julie Richey 6/13/22 Julie Richey 6/13/22 Queen of the Gulf Mosaic Graces Grand Galvez Hotel and Spa Lobby Read More
Julie Richey 8/24/20 Julie Richey 8/24/20 Tales from A Construction Site: The Boot Stitch Installation. Read More
Julie Richey 8/9/20 Julie Richey 8/9/20 Pamplona Rose Project for the new Fort Worth AC Marriott Read More